Ingredients
· Oil (3-4 tbsps) Bottle gourd (doodhi), grated (2 cups)
· Onion, grated (1 cup)
· Bengal gram flour (besan) (1/2 cup)
· Whole wheat flour (gehun ka ata) (1/2 cup)
· Semolina (sooji) (1/4 cup)
· Mustard seeds (sarson) (1/4 tsp)
· Asafoetida (hing) (¼ tsp)
· Sesame seeds (til) (¼ tsp)
· Lemon (nimbu) juice (1/4 cup)
· Green chillies (hari mirch) and ginger (adrak) paste (1/4 cup)
· Haldi/Turmeric Powder (¼ tsp)
· Fennel seeds (saunf) (¼ tsp)
· Cumin seeds (jeera) (¼ tsp)
· Salt (to taste)
· Sugar (1/2 tsp)
· Coriander leaves (hara dhaniya), for garnish
· Coconut grated, for garnish
 |
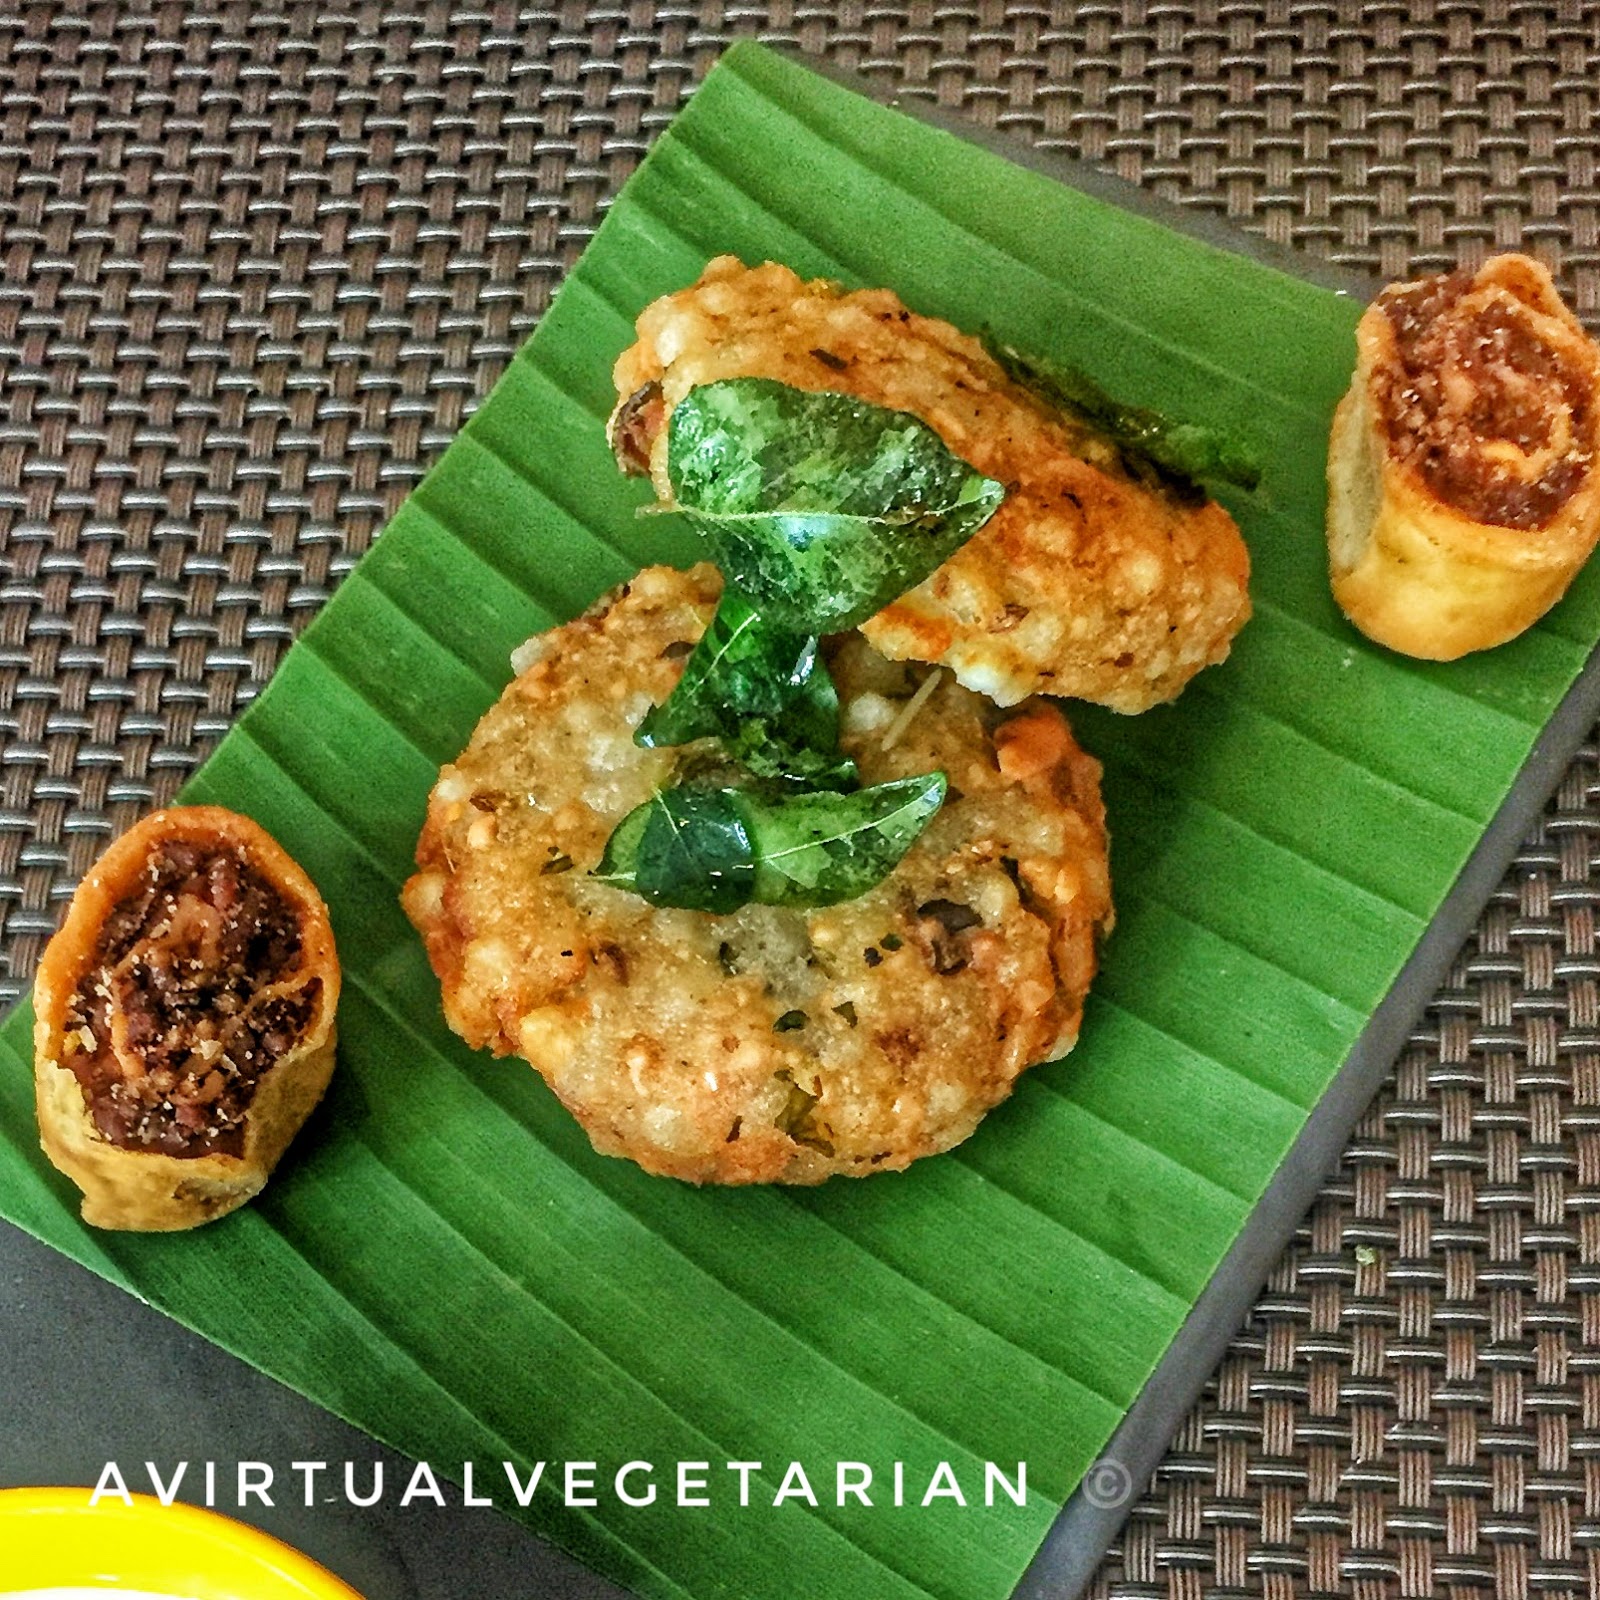
| Steamed Muthia with bottle gourd or fenugreek leaves |
·
Method
· This recipe needs a steamer or an oiled sieve which can be kept on a vessel of boiling water to steam the muthias.
· Mix grated doodhi, onion along with wheat flour, besan (Bengal gram flour) and semolina together. Semolina is added to give the snack a crunch and hold it together well.
· Add in spices including turmeric powder, green chilli and ginger paste, cumin seeds, fennel seeds, asafoetida, sugar, salt, lemon juice and 1 tbsp of oil and mix the dough well.
· Shape a lemon-size portion with your hand until it binds well. Alternatively, the muthia dough can be rolled into a cylinder of one-inch diameter, rolling it between a hard surface and the palm of the hand. Then cut it at ¼ inches intervals, to form slices or disks.
· Steam the cut muthias for about 15-20 minutes and allow them to cool completely.
· To temper the muthias, heat 2 tsp oil, add mustard seeds and asafoetida, once the mustard seeds splutter, add the muthias carefully, tossing them lightly.
· Cook until the edges are brown in colour, and serve warm with a sprinkling of grated coconut and chopped coriander leaves and chutney of your choice.
·